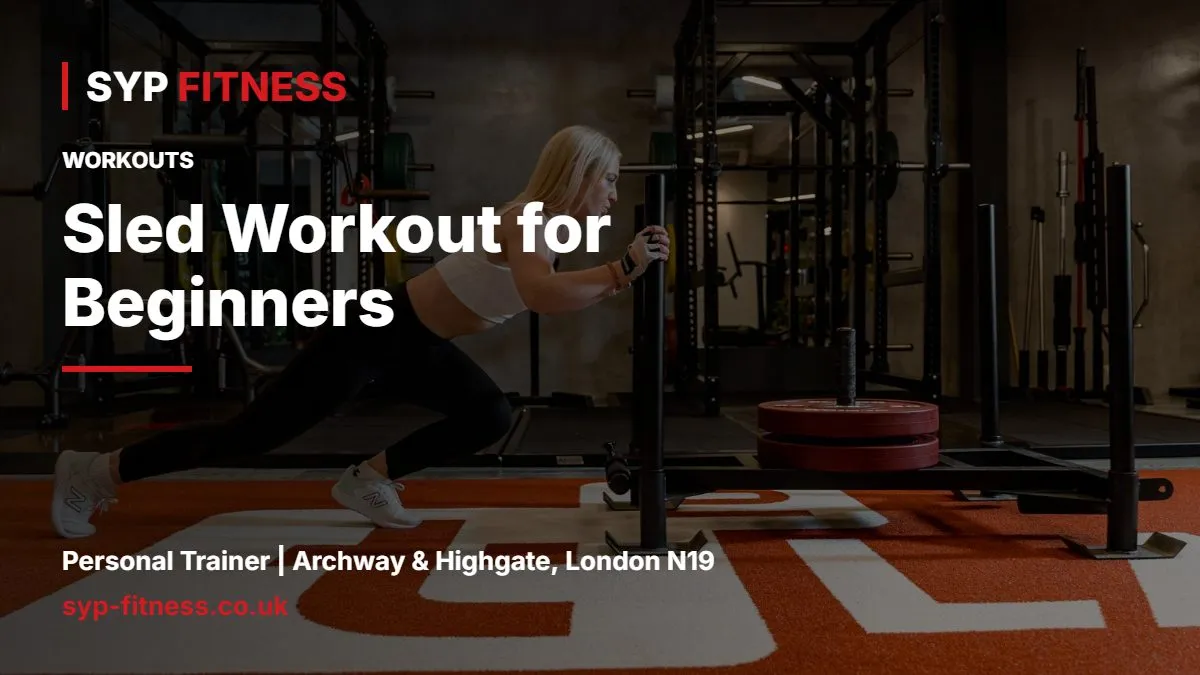
Sled Workout for Beginners: Push, Pull and a Simple Finisher
A sled workout is one of the simplest ways to train your legs hard and get fitter at the same time, without the joint pounding of running or the technical learning curve of barbell lifts. You push or pull a weighted sled across turf, and that is about it. No lowering phase, no balance tricks, very little that can go wrong.
This guide is the practical side. If you want to know why the sled is worth your time, read my piece on sled push benefits. Here I cover how to load it, how to push and pull it properly, and three beginner sessions you can take straight into the gym.
Why a sled workout suits beginners
The lowering part of most lifts (the eccentric) is what makes you sore the next day, and the sled has almost none of it. You can work hard and still walk normally the next morning, which matters if you are new to training or coming back after a break.
- Low skill: if you can lean forward and walk, you can push a sled.
- Easy to scale: add or remove a plate, or change the distance, and the session changes instantly.
- Kind on knees: there is no impact, and the knee stays in front of you in a strong, pushing position.
- Conditioning without running: a few lengths will leave you breathing hard.
If you have a knee, hip or back problem, or a heart condition, check with your GP before any hard conditioning work, and start lighter than you think you need.
How to load the sled
Turf varies hugely between gyms, so the same 40kg can glide in one and stick in another. Forget a "correct" weight and use this rule instead: you should be able to keep moving at a steady walk without stopping or your hips rising up.
Starting points
- Empty sled: for your first two or three lengths, always. Learn the position first.
- Conditioning work: a load you could push for 20-30 metres at a brisk walk, breathing hard by the end.
- Strength work: heavier, slower, 10-15 metres, where every step is a hard drive but still continuous.
Write down the load and the surface. Next session, beat it by one plate or a few metres, not both.
Sled push technique
- Hands: grip the high handles for a more upright push, or the low handles for a deeper, harder angle. Beginners should start high.
- Body angle: lean into the sled so your body forms a straight line from head to heel, roughly 45 degrees. Arms can be straight or slightly bent, just keep them fixed.
- Brace: take a breath into your belly and tighten your trunk as if someone is about to poke your stomach. My guide on how to brace your core when lifting covers this in detail.
- Steps: drive through the ball of the foot, short to medium steps, knee driving forward each time. Think "push the floor away behind you".
- Head: neutral, eyes a metre or two ahead on the floor, not up at the mirror.
Common push mistakes
- Hips shooting up so your back rounds and your arms do the work.
- Long, lunging strides that make you stall between steps.
- Loading too heavy and stopping every two metres. If you stop, it is too heavy.
Sled pull technique
Pulling is the underrated half of the sled. Attach a strap or rope and you can train the back of your legs and your upper back without any heavy spinal loading.
Backward drag
Hold the straps at arm's length in front of you, sit into a quarter squat, and walk backwards in small steps, heel to toe. Your quads will burn quickly. This is a favourite for people with cranky knees because it builds the front of the thigh with very little stress on the joint. It pairs well with the knee strengthening exercises I use with clients.
Forward harness walk
With a harness or straps over the shoulders, lean forward and walk away from the sled. This works the glutes and hamstrings and teaches you to drive from the hips.
Three beginner sled workout sessions
Do these after your main strength work or on a lighter day, resting 60-90 seconds between lengths.
Session 1: Learn the sled (15 minutes)
- 2 lengths empty push, high handles
- 4 x 20m push, light load, walk back to rest
- 3 x 15m backward drag, light load
Session 2: Leg strength (20 minutes)
- 5 x 10-15m heavy push, low handles, then 4 x 15m forward harness walk
Session 3: Conditioning (20 minutes)
- 8 rounds: 20m push, then 20m backward drag back to the start, rest 60-90 seconds
- Finish with 2 x 30-second farmers walk carries
A 10-minute sled finisher
Short, honest and easy to follow when you are tired, this is the one I add at the end of a lower body day.
- Set a moderate load you can push 20m without stopping.
- Every minute on the minute for 10 minutes: push 20m, then rest for the remainder of the minute.
- If you cannot finish a length inside about 30 seconds, take a plate off for the next round.
For a harder version, alternate push and backward drag each minute. If you prefer to do this sort of work without a sled, my interval training guide has bike and rower options that follow the same idea.
How often to do a sled workout
For most people, one or two sled sessions a week is plenty, either as a finisher or a short standalone session. It fits neatly into a beginner leg day workout and it counts towards the UK guidance of 150 minutes of moderate activity a week plus strength work on at least 2 days.
Sled push or stair climbing? Both work the legs and lungs, but stairs mean repeated knee bending under body weight, while the sled loads you heavier with little knee stress. No sled? A hill does a similar job, as I explain in hill training in Highgate.
Want help with this? As a personal trainer in Archway, I use the sled with lots of clients, especially busy professionals who want to get fitter without beating up their joints. If you would like a session plan built around your own goals and any niggles, Book a free consultation with me and we can work out where the sled fits in.
Frequently asked questions
Is a sled workout good for fat loss?
Yes, as part of a sensible plan. A sled workout burns a good amount of energy in a short time and builds leg muscle, which helps. But fat loss still comes down mainly to eating in a modest calorie deficit and training consistently. Use the sled for conditioning two or so times a week alongside strength training and decent nutrition.
How heavy should a beginner push a sled?
Start with the empty sled for a few lengths, then add weight until you can still move at a steady walk without stopping. The right weight depends heavily on the turf, so a number from someone else's gym means little. If your hips rise or you stall every few steps, the load is too heavy.
Does pushing a sled build muscle?
It can build muscle in the quads, glutes and calves, especially with heavier, slower pushes of 10-15 metres. It is not a full replacement for squats or lunges because there is no lowering phase, but it is an excellent extra for leg volume, and it causes far less soreness than most lifts.
Is the sled push bad for your back?
For most people, no. With a straight line from head to heel and a braced trunk, the spine is in a strong position and is not heavily loaded. Problems usually come from hips rising and the back rounding under too much weight. If you have an existing back problem, speak to your GP or physio first.
Start your transformation
SYP Fitness is a private 1-to-1 personal training studio at 2-4 Navigator Square, Archway, London N19 3UB, 2 minutes from Archway tube. Rated 5.0 from 100+ Google reviews.
Apply for a free consultation · WhatsApp Artem · Call 07301 512215 · See prices


