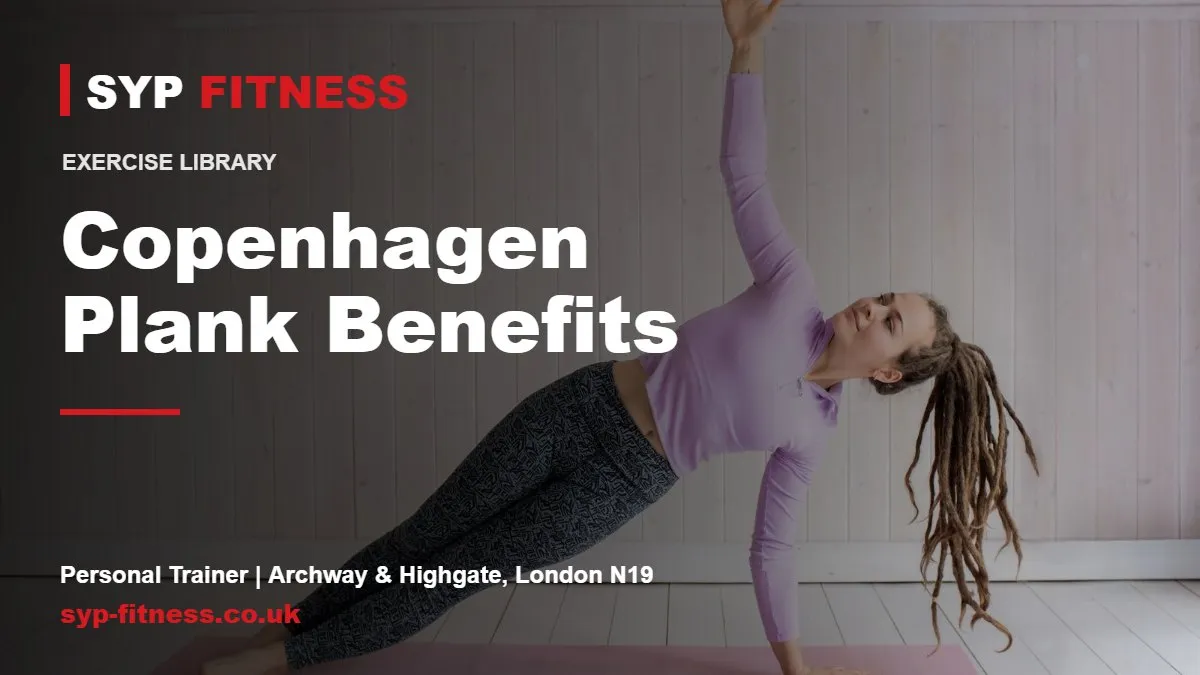
Copenhagen Plank: Benefits and How to Do It Right
The Copenhagen plank is a side plank where your top leg rests on a bench and your bottom leg hangs free, so your inner thigh muscles hold your body up. It is one of the best exercises there is for building strong adductors, the muscles that protect your groin and keep your hips and knees stable.
Why the Copenhagen Plank is a must
Your adductors run along the inside of your thighs and help with almost every change of direction, step sideways and single-leg movement. Most training programmes barely touch them, and that is one reason groin strains are so common in sports like football, tennis and running.
The Copenhagen exercise has some of the best evidence of any prevention drill. In a trial published in the British Journal of Sports Medicine, semiprofessional football teams who added the Copenhagen adduction exercise to their warm-ups had a 41% lower risk of reporting groin problems over the season than teams who trained as normal. You do not need to play football to benefit: if you walk, run, play sport or want strong, stable hips, it deserves a place in your week.
How it helps in everyday life
Stepping sideways out of the way. Quick side steps on a busy pavement or in a crowded shop are controlled by your adductors.
Getting in and out of a car. Swinging your legs in and out uses the inner thighs to control the movement.
Playing football or tennis with friends. Sudden changes of direction load the groin heavily.
Climbing stairs and walking uphill. The adductors help drive you up and keep your knee in line.
Slipping on a wet surface. When a foot slides out to the side, strong adductors help you pull it back under control.
What it helps prevent
Groin strains. As the BJSM trial showed, regular adductor strength work can help lower your risk of groin problems, especially if you play sport.
Hip and knee instability. The adductors work with your glutes to keep your pelvis and knee stable on one leg.
Weak links in your core. As a side plank, it also builds the obliques and deep core, which can help protect against lower back strain.
Loss of muscle with age. The UK guidelines recommend muscle strengthening activities at least 2 days a week that work all major muscle groups, and the inner thighs are often missed.
Muscles worked
Adductors (adductor longus, magnus and brevis)
Obliques
Glute medius of the bottom leg
Deep core muscles
Shoulder stabilisers of the supporting arm
How to do the Copenhagen Plank
Lie on your side next to a bench, propped up on your forearm with your elbow under your shoulder.
For the beginner version, place the inside of your top knee on the bench. For the full version, place the inside of your top ankle on it.
Let your bottom leg rest on the floor beneath the bench.
Press your top leg down into the bench and lift your hips until your body forms a straight line from head to knee or foot.
If you can, lift your bottom leg up to meet the underside of the bench.
Hold the position with your hips high and stacked, not rolling forward or back.
Lower with control, rest, then switch sides.
Breathing: keep breathing steadily through the hold. Short, calm breaths are better than holding your breath.
Common mistakes
Starting with the long lever. The ankle-on-bench version is very demanding. Start with your knee on the bench.
Letting the hips sag. Keep pushing the top leg into the bench to hold the line.
Rolling forward. Keep your hips and shoulders stacked on top of each other.
Doing too much too soon. The adductors can be sore after the first sessions. Start with short holds.
Make it easier or harder
Easier: place your knee, not your ankle, on the bench and keep your bottom foot resting on the floor, or start with side-lying inner thigh leg raises.
Harder: move to the ankle-on-bench position, lift the bottom leg, or perform dynamic reps where you lower and raise your hips slowly, as in the trial programme.
Sets, reps and how often
Start with 2-3 holds of 10-20 seconds per side, 2-3 times a week, using the knee version. Once you can hold 30 seconds with good form, move towards the full version or slow dynamic reps of 3-6 per side. In the BJSM trial, players did the exercise 2-3 times a week in preseason and once a week during the season, which is a sensible model to follow.
Who should take care
If you have a current groin strain, hernia, hip pain, pelvic girdle pain or recent surgery, check with your GP or a physio first. During pregnancy, this exercise can strain the pelvis, so avoid it unless your physio has cleared it. Stop if you feel sharp pain in the groin or knee.
Related exercises
Side Plank: the foundation core exercise to master first.
Banded Lateral Walk: strengthens the outer hip to balance the inner thigh.
Single-Leg Balance: puts your new hip stability to work.
Prehab exercises: more drills to help keep injuries away.
FAQs
What does the Copenhagen plank work?
It mainly works the adductors on the inside of the top leg, plus the obliques and deep core. The bottom leg's hip muscles also work if you lift it.
Is the Copenhagen plank good for beginners?
The knee-on-bench version is suitable for most beginners. Save the ankle-on-bench version until you can hold 30 seconds comfortably.
How long should I hold a Copenhagen plank?
Start with 10-20 seconds per side and build towards 30 seconds before moving to harder versions.
Want help with your technique?
Artem coaches the Copenhagen Plank 1-to-1 at his private studio in Archway, North London, and builds it into a plan that suits your body. Look at the 12-Week Body Transformation, check our personal training prices or book a free assessment.
Last updated: October 2026


